AI Types Faster Than I Do

Have you heard about this AI thing? I know it doesn’t get much press and hardly anyone is talking about it. So, what better way to give it some more attention than to write an article about it for my blog that hasn’t been updated in 8 years?

Let’s begin.

The Experiment

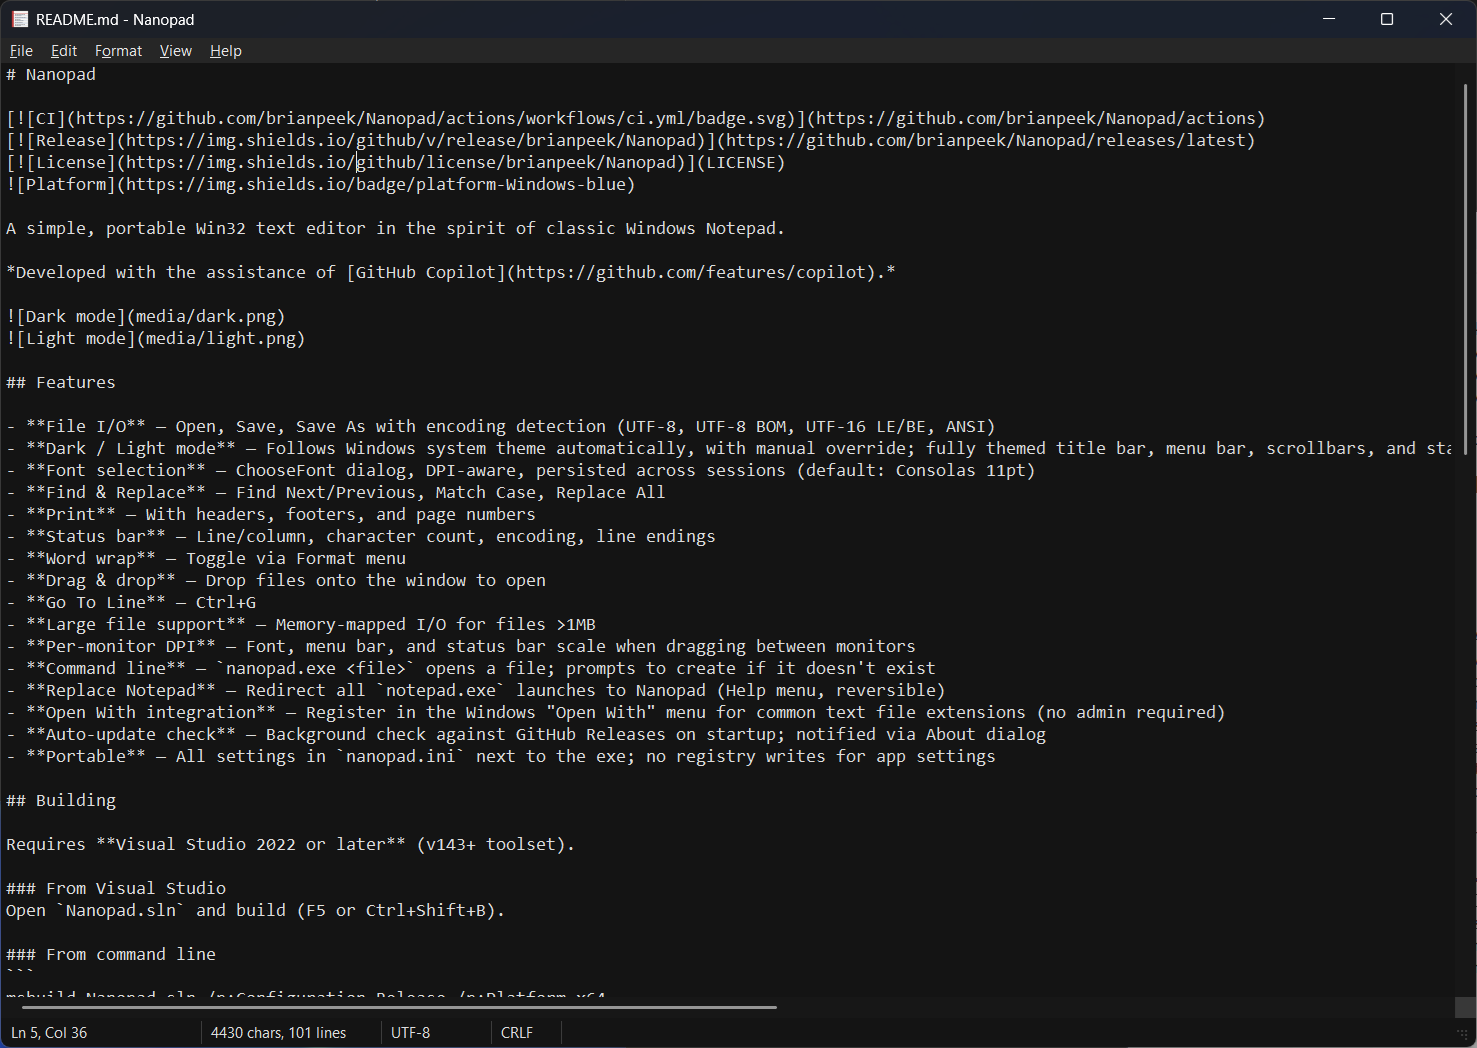
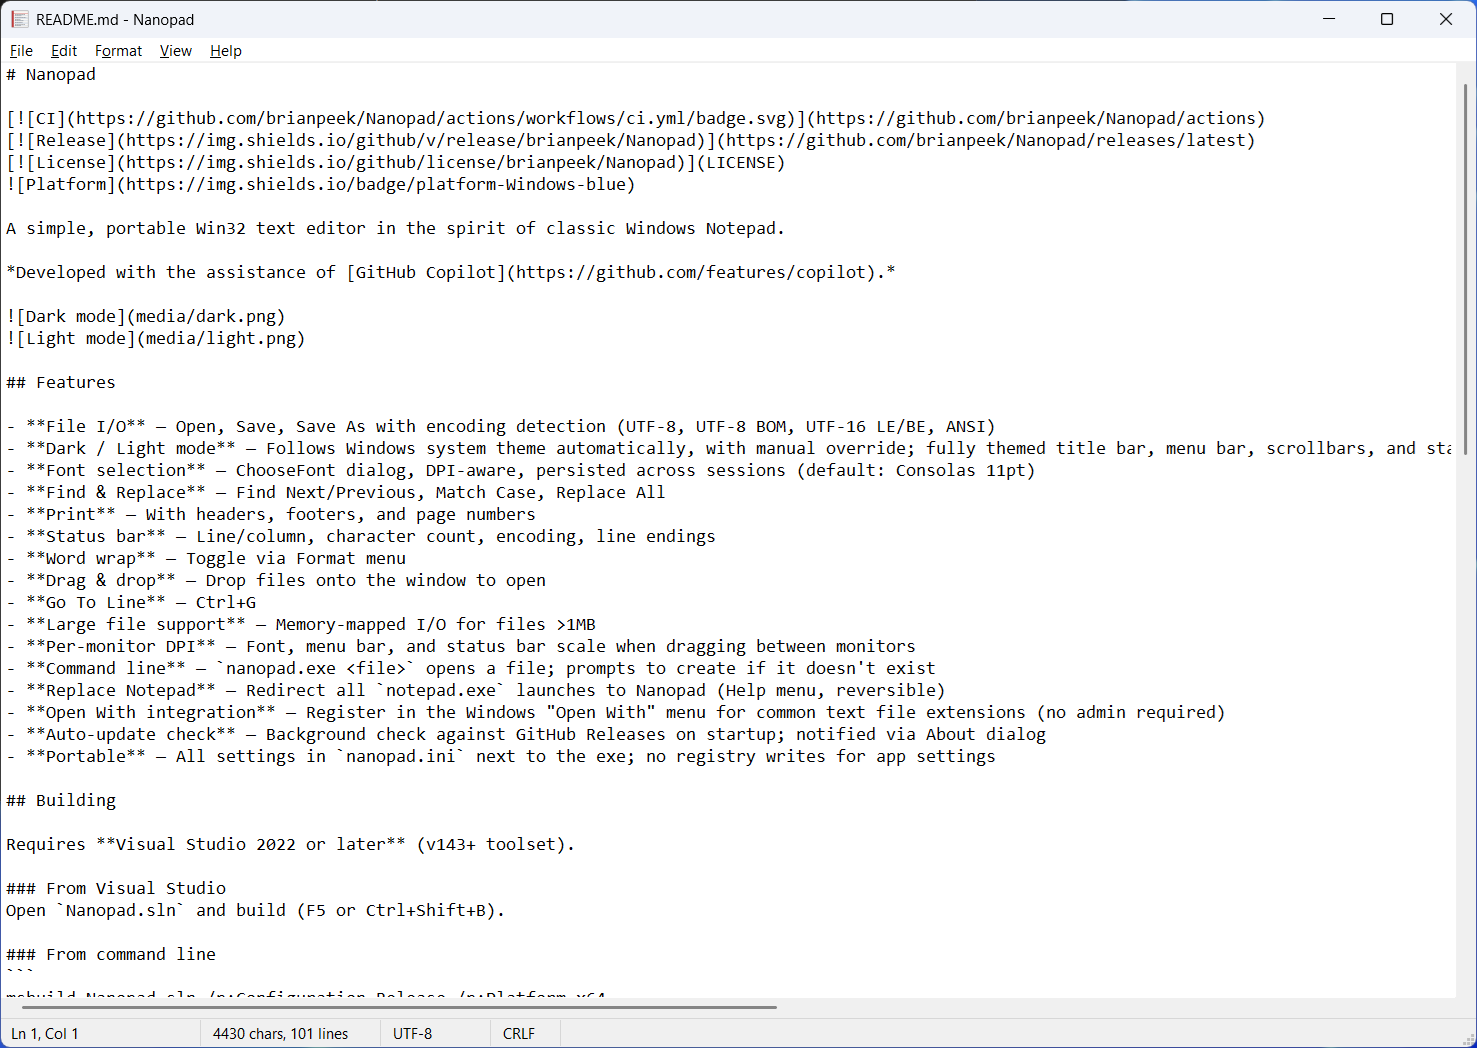
I wanted to try building a full Windows application using AI as my coding partner. Since Notepad gets more and more bloated and more and more filled with AI, how about turning the tables and using AI to build a no-bloat Notepad replacement?

The result is Nanopad, a Notepad replacement in pure Win32 C++ with no installer or runtime dependencies.

Dark Light
Dark Light

What I Was Going For

Pure Notepad, but with some modern conveniences. Altogther, that means:

  • Full dark mode that follows the system theme
  • Per-monitor DPI scaling
  • Portable settings (INI file next to the EXE, no registry)
  • System integration (Replace Notepad, Open With, context menu)
  • Font selection
  • Encoding detection (UTF-8, UTF-16, ANSI)
  • Find & Replace, Print, Word Wrap, Go To Line

The Stack

  • Language: Modern C++
  • UI: Win32 API only - CreateWindowExW, WndProc, message loop
  • Edit control: Standard multiline EDIT class (same one original Notepad uses)
  • Build: Visual Studio 2022+, MSBuild, v143 toolset
  • CI/CD: GitHub Actions - builds on push, version-stamped releases on tag
  • Dark mode: Undocumented Windows APIs (more on this below)

This ends up being about 3,000 lines of C++ across 12 source files.

Read More

Build 2018 - GameDev Goodness

At this year’s Build conference, Dimitris Gkanatsios and I presented two sessions on game development and the cloud. The first demonstrates how one might use Azure Container Instances to automatically scale a multiplayer backend. The second is a demo on using Unity with Azure services like Computer Vision and Cosmos DB along with PlayFab for things like authentication and leaderboards. You can find the videos below along with some links to each project.

Read More

Migrating BlogEngine.NET Comments to Disqus and Ghost

By default, Ghost does not have a commenting system of its own. When migrating my blog from BlogEngine.NET, I wanted to carry over old comments and maintain the commenting feature. Disqus to the rescue!

Migrating Old Comments

First, you’ll need to create an account at Disqus and select the “I want to install Disqus on my site” option. From here, you’ll walk through a wizard where you’ll give the website name, URL and other bits of information. Sign up with the Basic (free!) option.

Next, you’ll need to use that BlogML.xml file you created in the previous post and run it through a utility to convert it into a format that can be imported into Disqus.

Head over to GitHub to download and compile the BlogML2WP project, or download my precompiled version. Then, run the program like this:

BlogML2WP [inputfile] [domain]

So, for my site, it’d look like this:

BlogML2WP BlogML.xml https://brianpeek.com/

This will create a new file named BlogML.Output.xml. Open this file in your favorite text editor, as you will need to “find and replace” some URL information since all posts and pages now live at the root of the site instead of the /post and /page URLs that BlogEngine uses.

Read More

Migrating BlogEngine.NET to Ghost

As mentioned previously, I recently migrated my blog to Ghost from BlogEngine.NET. I’ll be writing a few posts discussing what I went through in the migration process.

Installing Ghost on Azure

I run my life on Azure. Previously, my BlogEngine instance was running as an App Service, so getting Ghost running on Azure was important to me. Luckily, Felix Rieseberg has already done all of the hard work for this step.

Head over to Felix’s Ghost-Azure repo on GitHub and click the big blue Deploy to Azure button. The deployment scrip will run, and you’ll be asked to log into your Azure account and fill out a form with your new site’s information (subscription, resource group, site name, etc.). When you complete this step, a new Ghost instance will be deployed to the location you requested. Simple!

Be sure to note the instructions on setting this up on a Basic (or higher) App Service Plan, then backing down to a Free/Shared plan if desired. This gets past a limitation where NPM requires more resources than a Free/Shared plan will give.

Read More